Hi Readers,
I am sharing a handmade card that I have recently made for my brother on his birthday. Now, the email and e-cards have replaced the cards that we used to share when young. However, the charm of getting a solid card over e-card is more. I thought and finally put my hands on to make a card for my brother. I used 4 different card stocks, ribbon, acrylic glitter colours, packaging material, Rhine stones, craft punch to make this card. Have a look at the front page below.
I divided the card into four major division. In one I made a three tier cake, in another I pasted a puffy sticker. In the third one I wrote Happy Birthday with acrylic glitter and in the fourth one I made a three tier gift box and wrote my brother's nick name.
Take a closer look at the first division, where I made a three tier cake with marker, acrylic glitter and small Rhine stones to decorate the cake. This gives a good birthday cake image to the card making it more birthday oriented.
The second quadrant is decorated with a puffy sticker and few tiny Rhine stones.
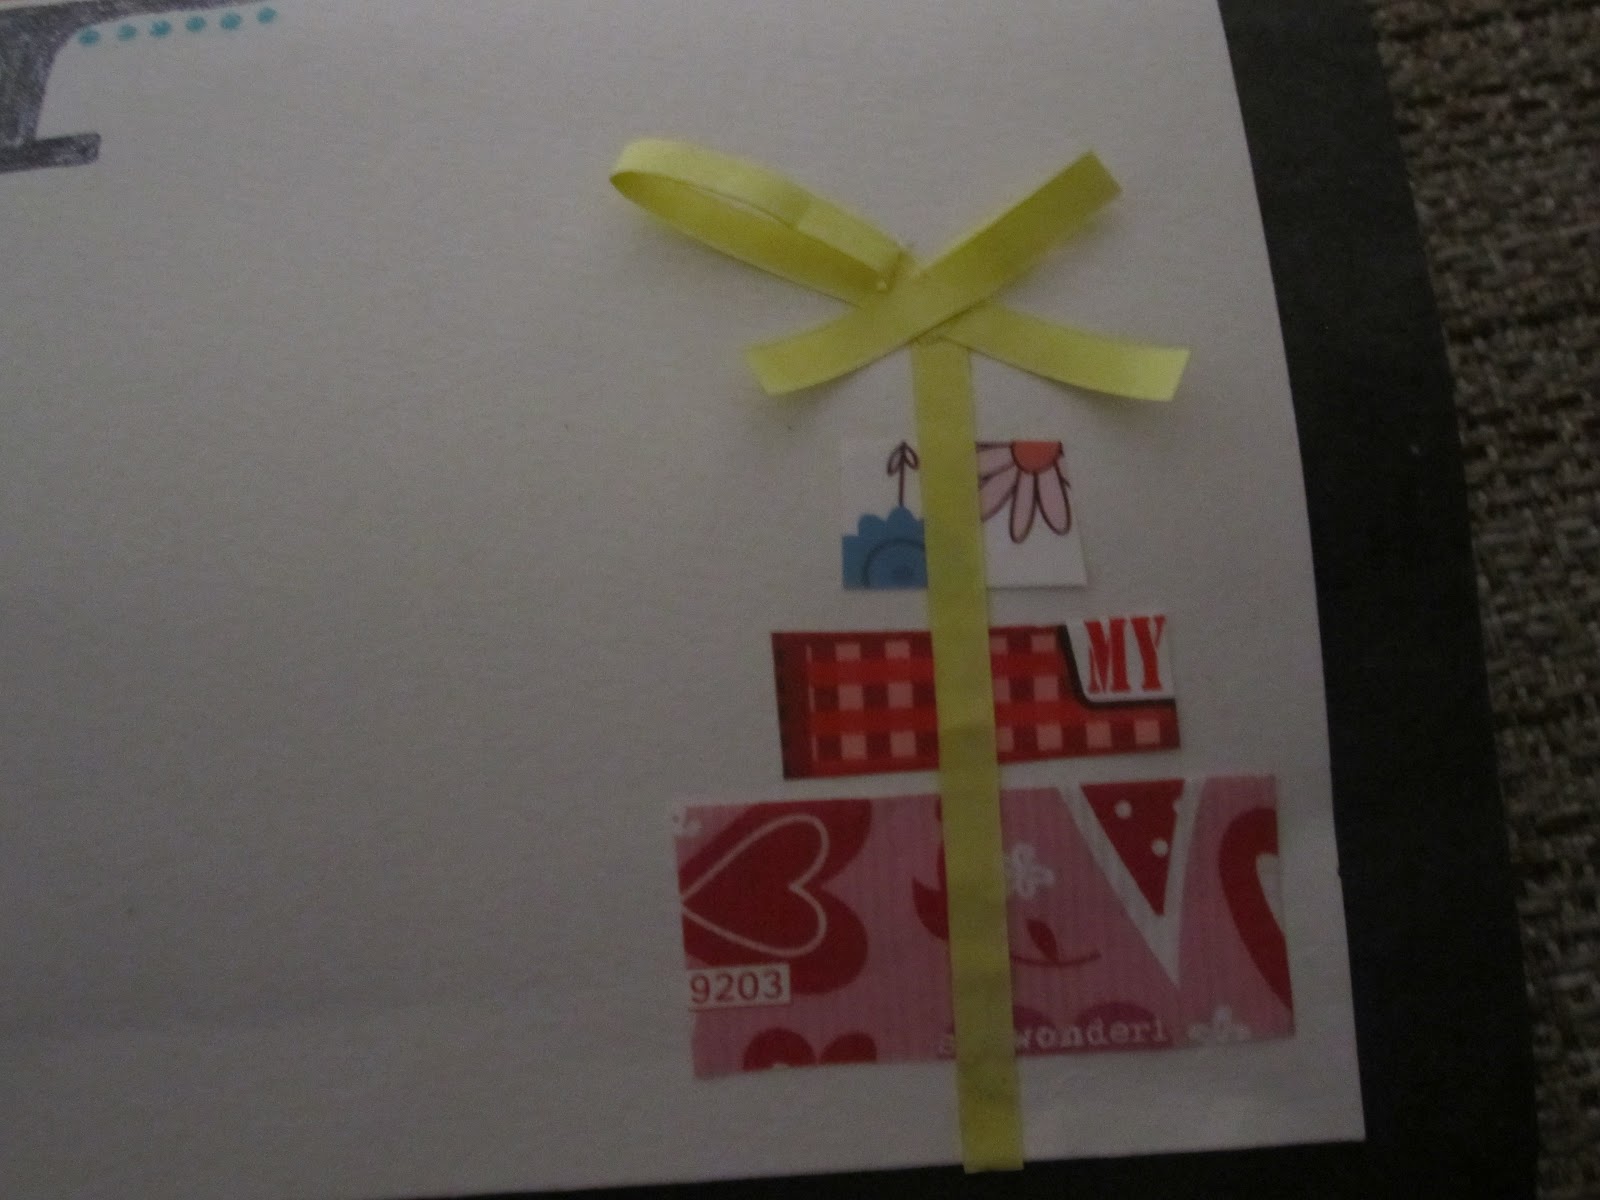
In the fourth quadrant, I made a gift box stock with packaging material and paper strap.
I have decorated the edges with acrylic glitter and Rhine stones at the base of my brother's name.
Now comes the inside page of card. Here I used a string with few flags saying CELEBRATION. Below is the bigger image of the three tier cake and down the right hand corner is same replica of three tier gift boxes. In the left hand corner there are few punch flowers and maple leaf.
Take a close look at the 3 tier cake with 3 candles in the below picture.
Take a closer look at the string with flags.
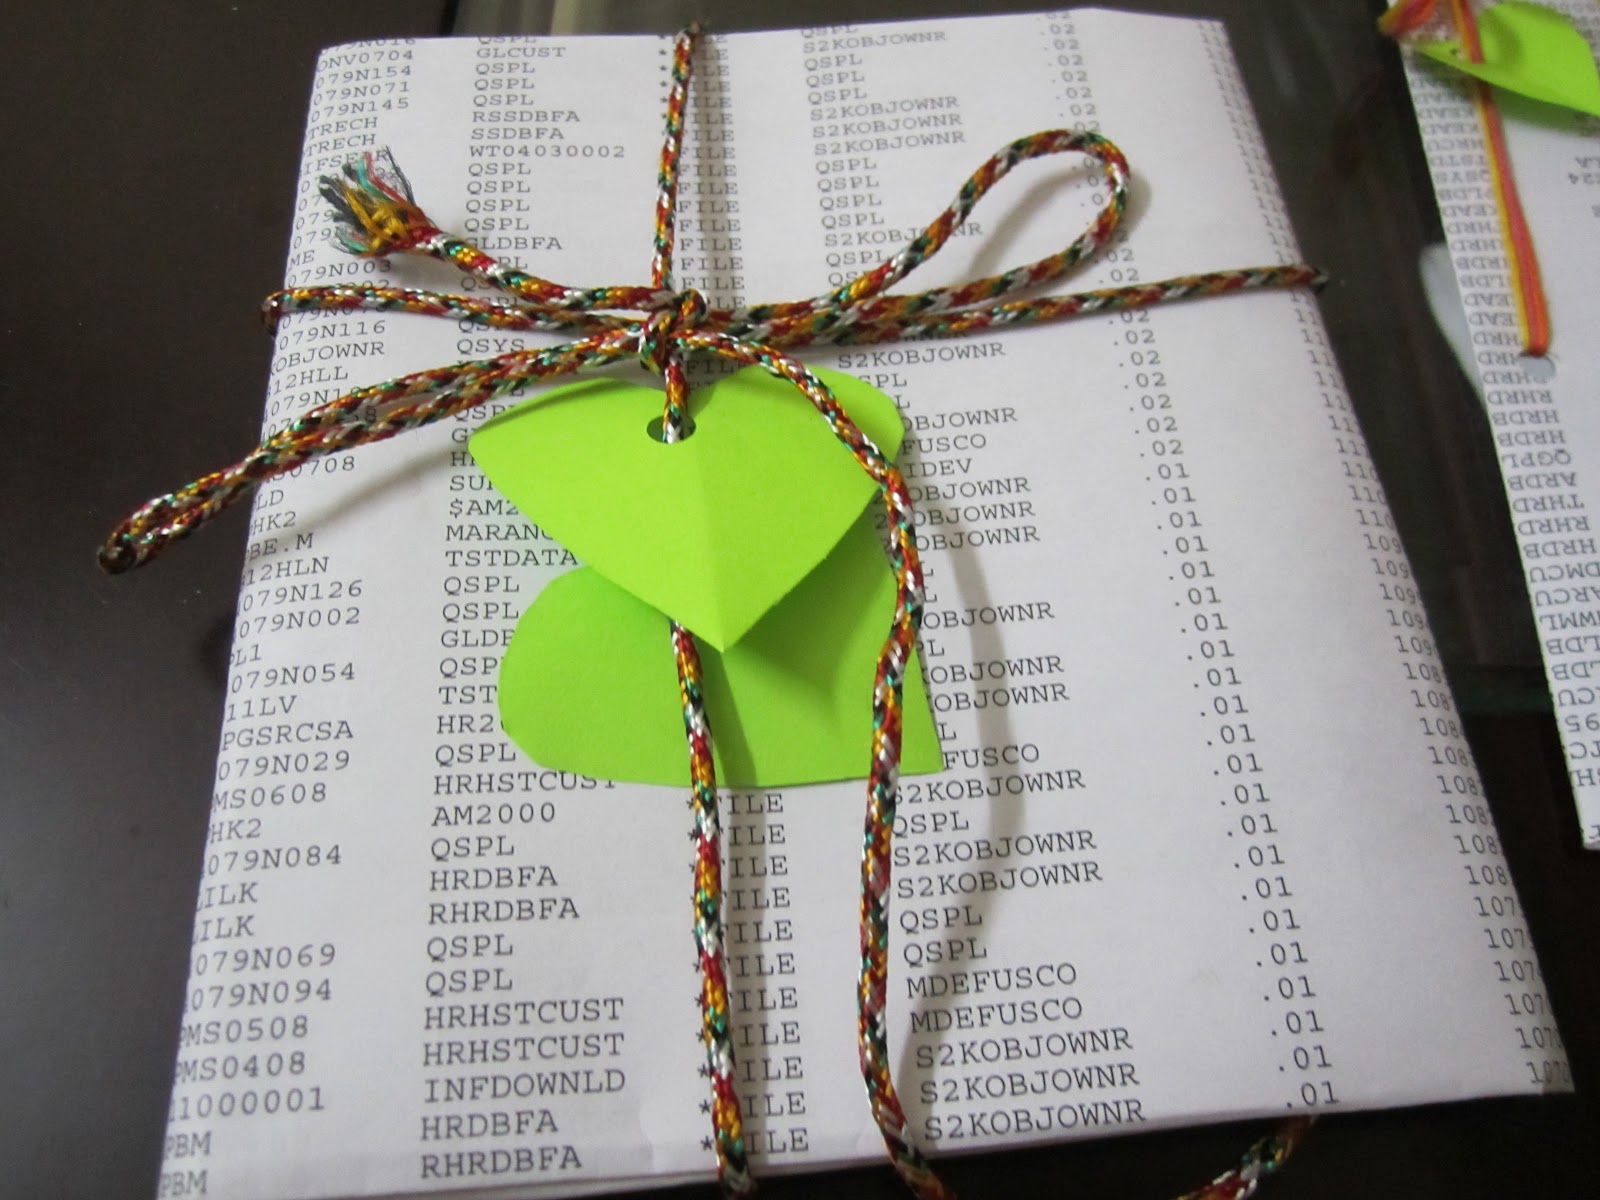
Below is the three gift boxes tied with ribbon.
Lastly, the punched flowers and leaf on display.